Installation Guide
How to install a Premium sliding shelf in your wine fridge?
Discover our step by step installation guide, how to easily assemble a EuroCave premium sliding shelf.
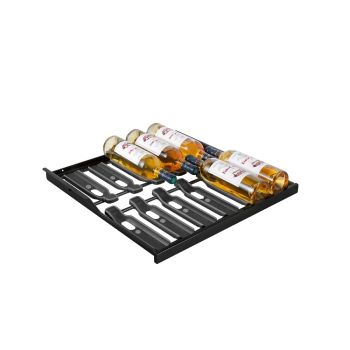
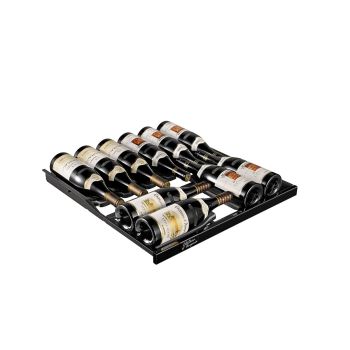
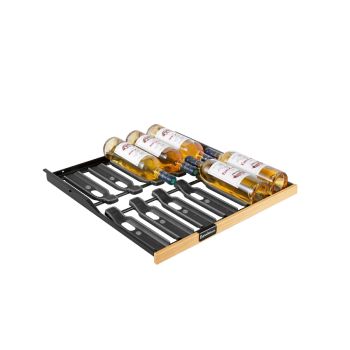
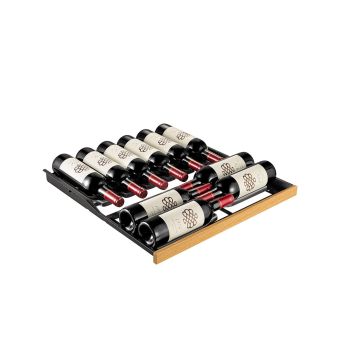
In order to well organize your wine cabinet and to have an easy access to your wine collection, you chose the EuroCave Premium sliding shelf ACMS2.
The ACMS2 shelf avoids vibrations thanks to its ball bearing sliding system and its integrated soft-close for a cushion effect.
It allows placing 12 bottles, gently and securely, each on an individual dedicated support, the “Main du Sommelier”, a bi-material structure patented by EuroCave.
With this shelf, sorting your wines has never been easier! The removable bottle identifiers, positioned on the front of your light oak or glossy black shelf, allow you to identify each wine at first glance.
This shelf is available for the Revelation wine fridge collection and Pure collection (optional).
Follow the guide.
Step 1
Prepare the different parts.
Step 2
Position the guides on the inner wall of the wine fridge (be careful regarding the positioning of the latch).
Step 3
Pull the runners, that will the shelf, out until a “Click”.
Step 4
Slide the shelf along the runners.
Step 5
Insert the notches and the pins in their slots on the runners.
All you have to do now is place the bottle identifiers on the shelves and write the name or the vintage of your wines on them.
Our advice
Please ensure that you can open the wine fridge door by more than 90°.
Position your shelves before plugging your wine cabinet in.
We recommend that you install your shelves starting from the top of the wine fridge.
In order to check that your internal layout will be optimum, start by installing all the guides.
Go one step further.

